
TUTORIAL : After analyzing my pile of broken e-cig batteries I concluded there were enough parts to make at least one working unit.

^This usb charging battery failed prematurely. I took it apart and found the cell measured the correct 3.7 volts. I suspected the extra circuitry attached to the negative battery end had something do with it’s malfunction, so I removed it.
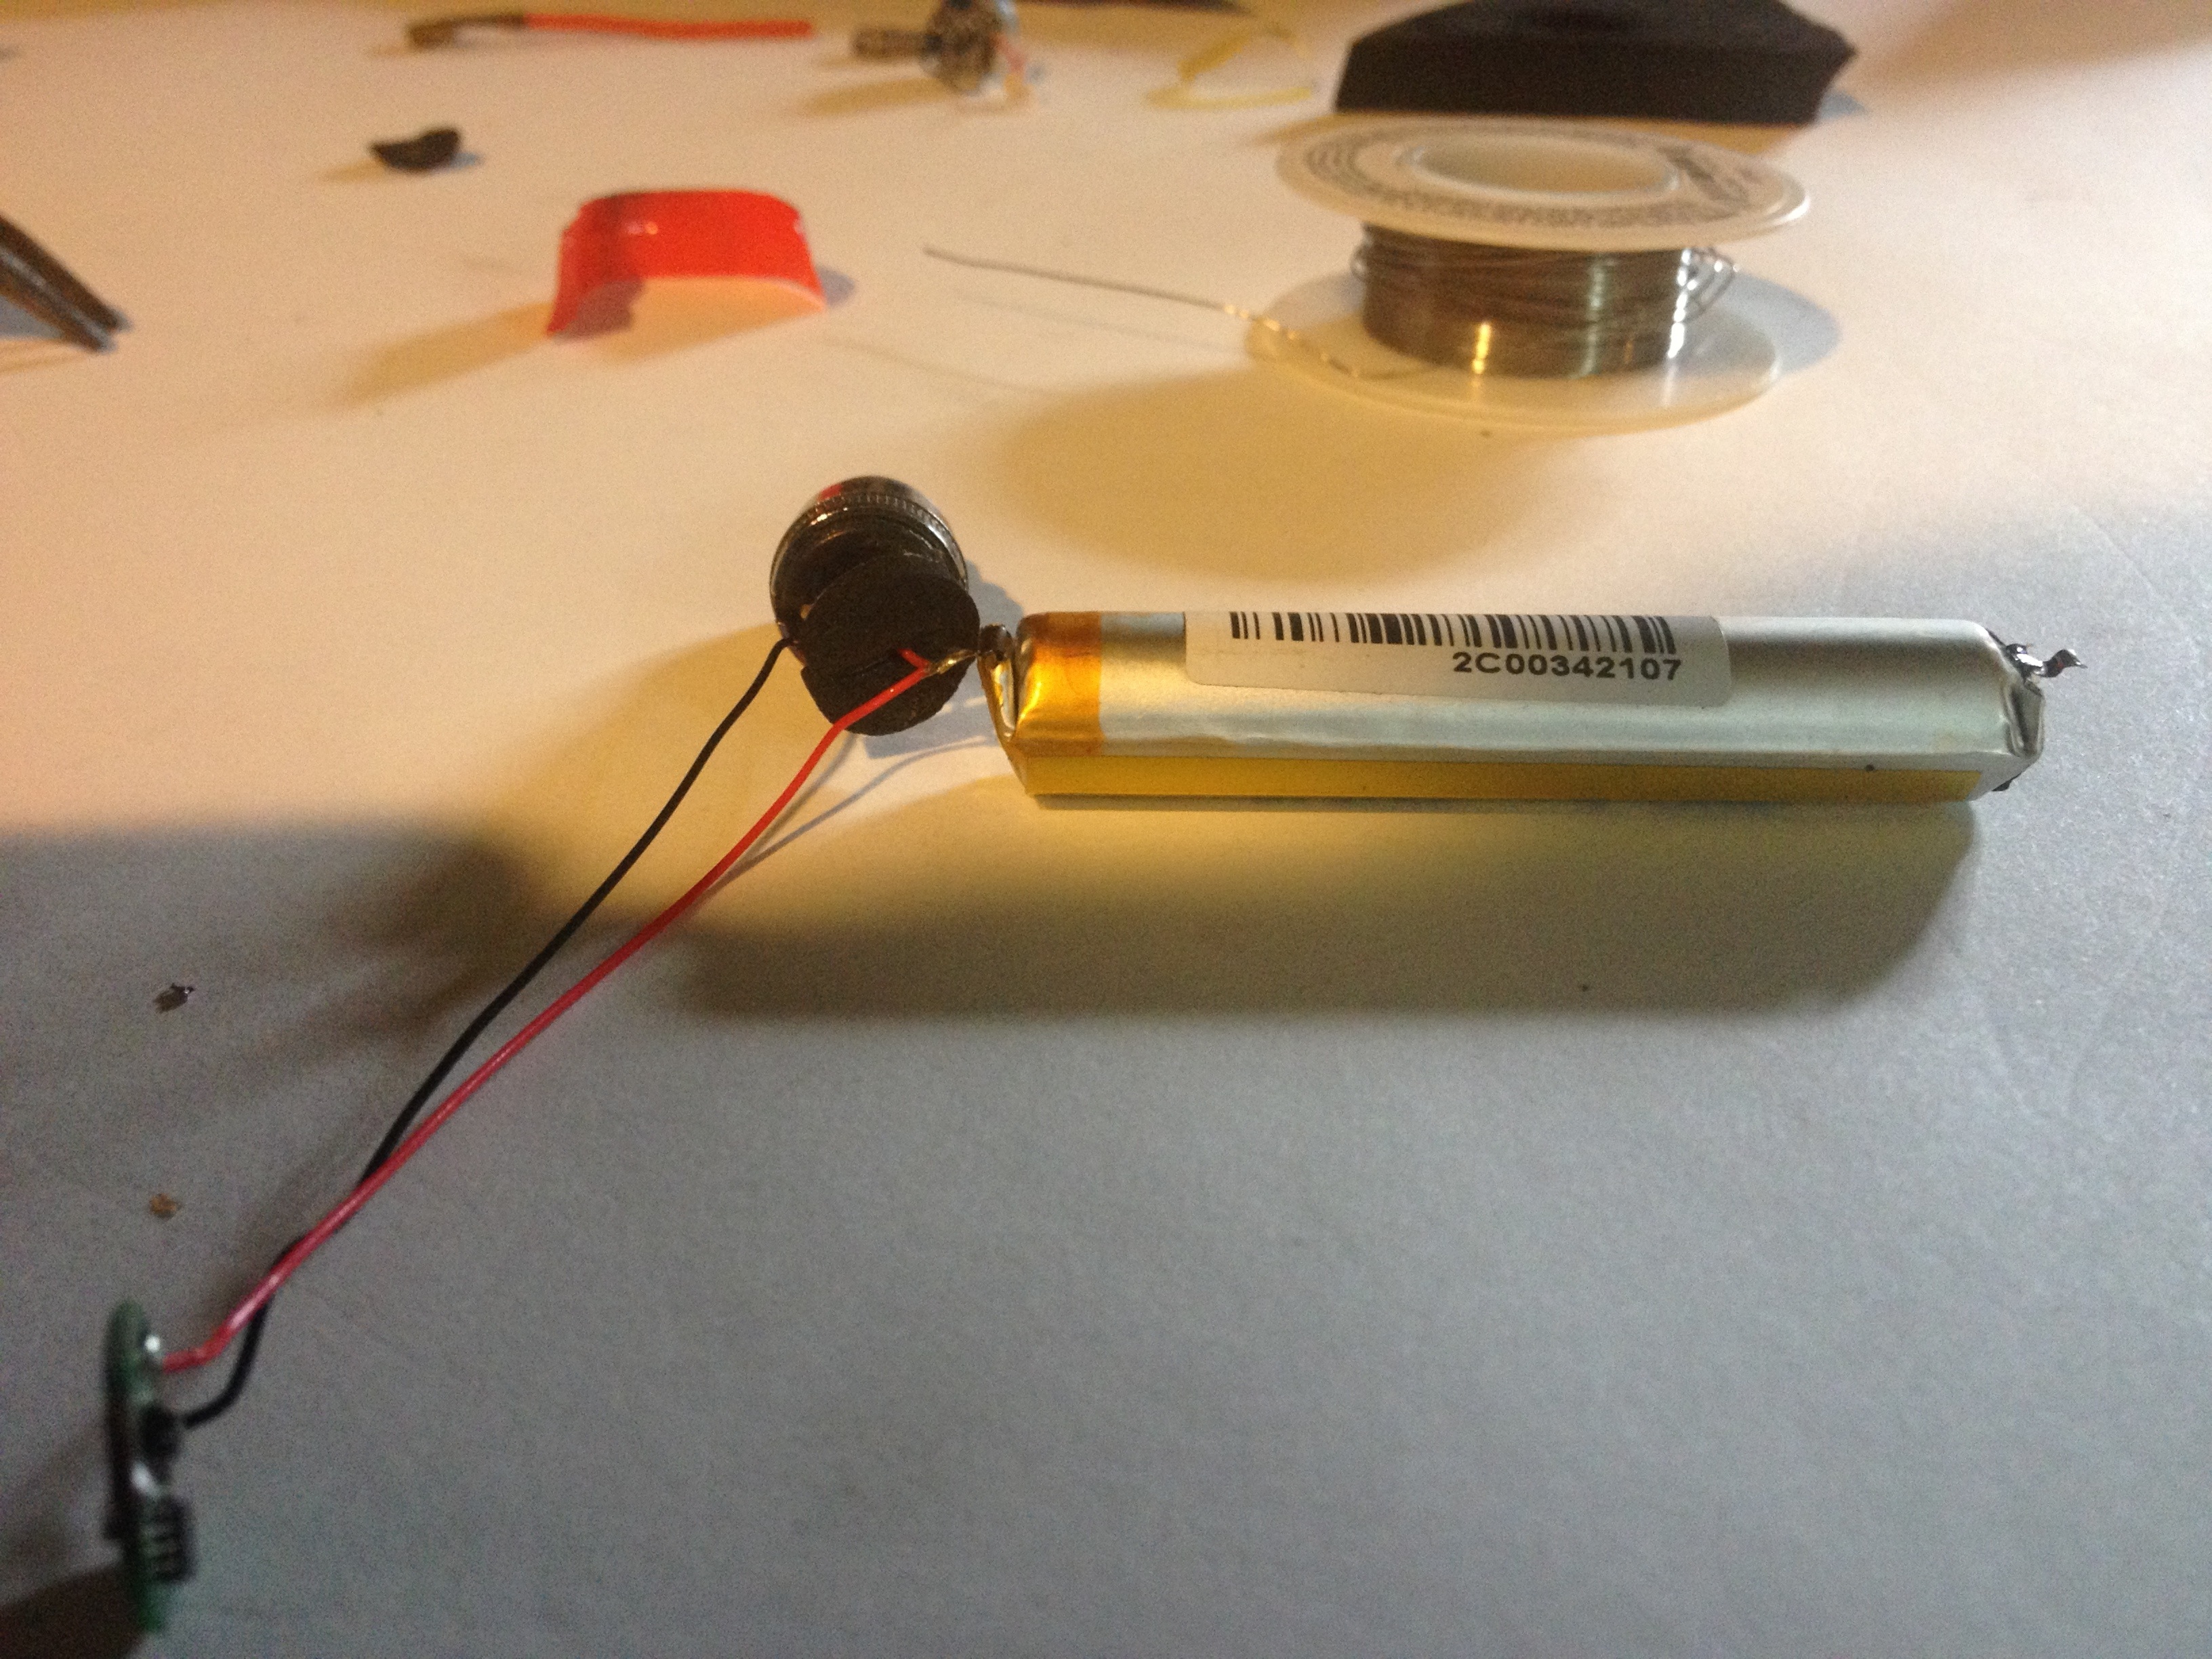
^This picture shows the small round usb circuit detached from the battery negative. Next I desolder the wires attached to battery positive.
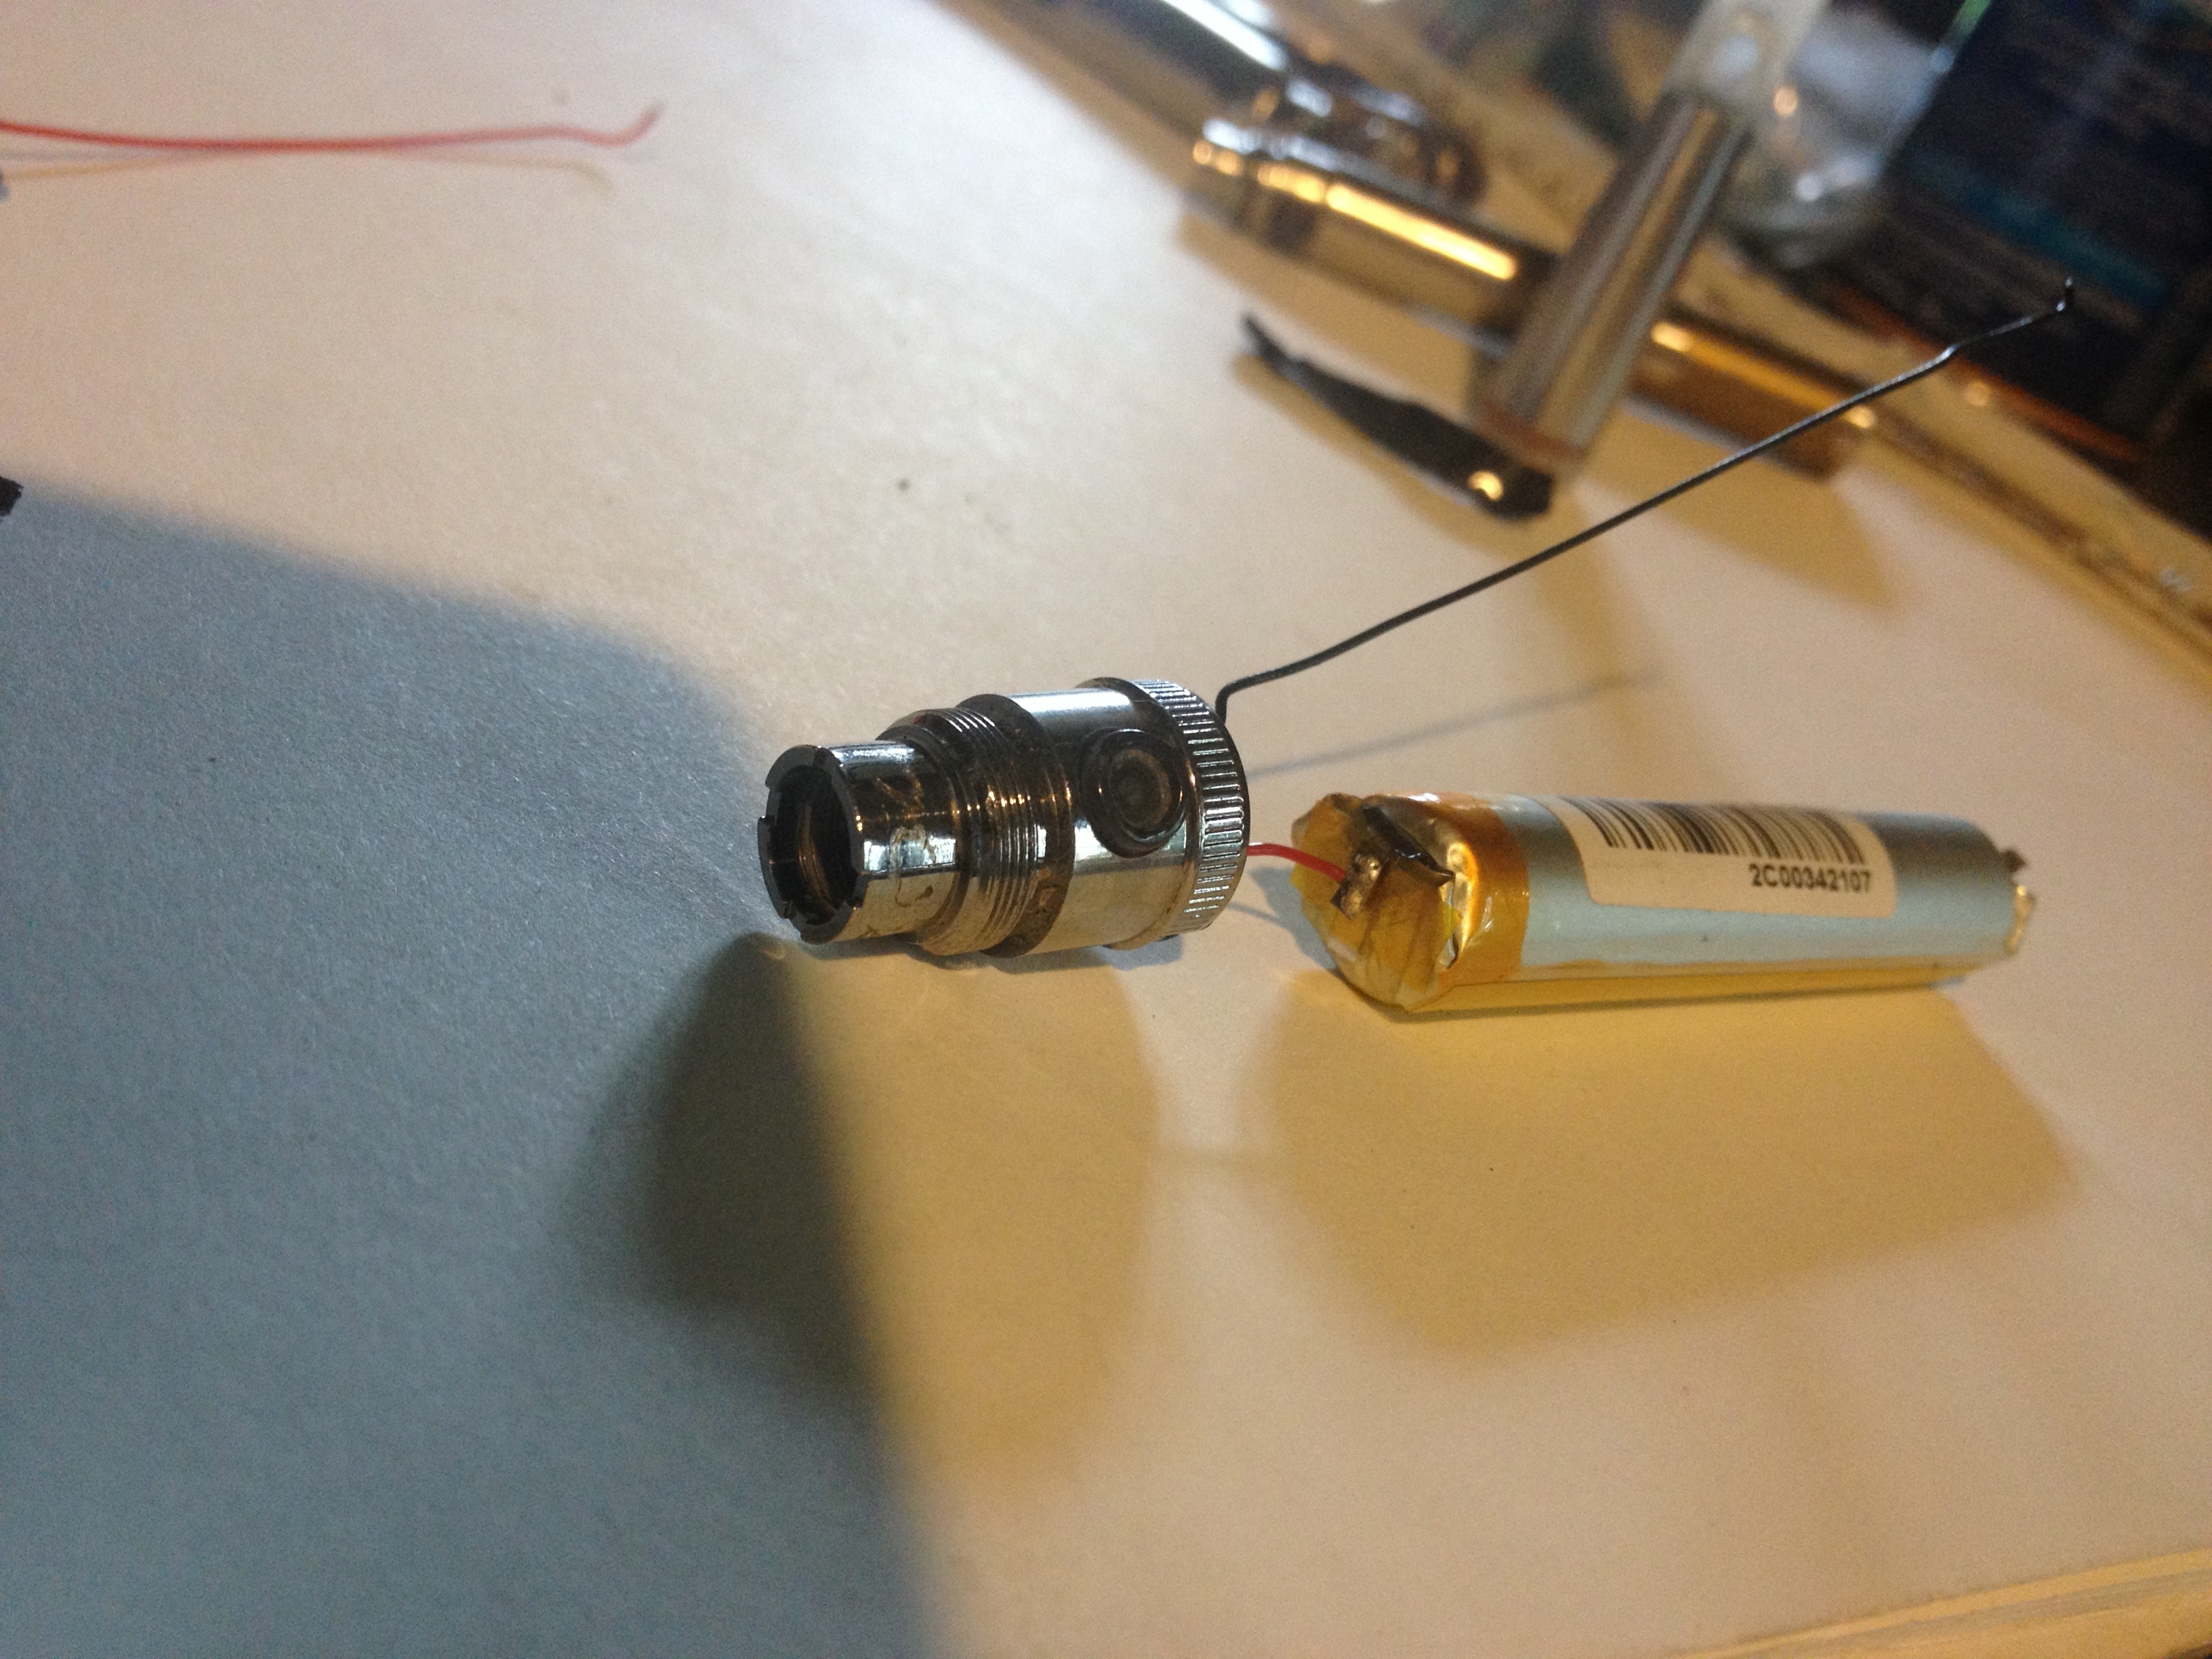
I salvaged the working circuitry and wires from a non-USB unit. In this picture I soldered the small red lead to the battery’s positive end. Next I’ll connect the long negative lead to the other end.
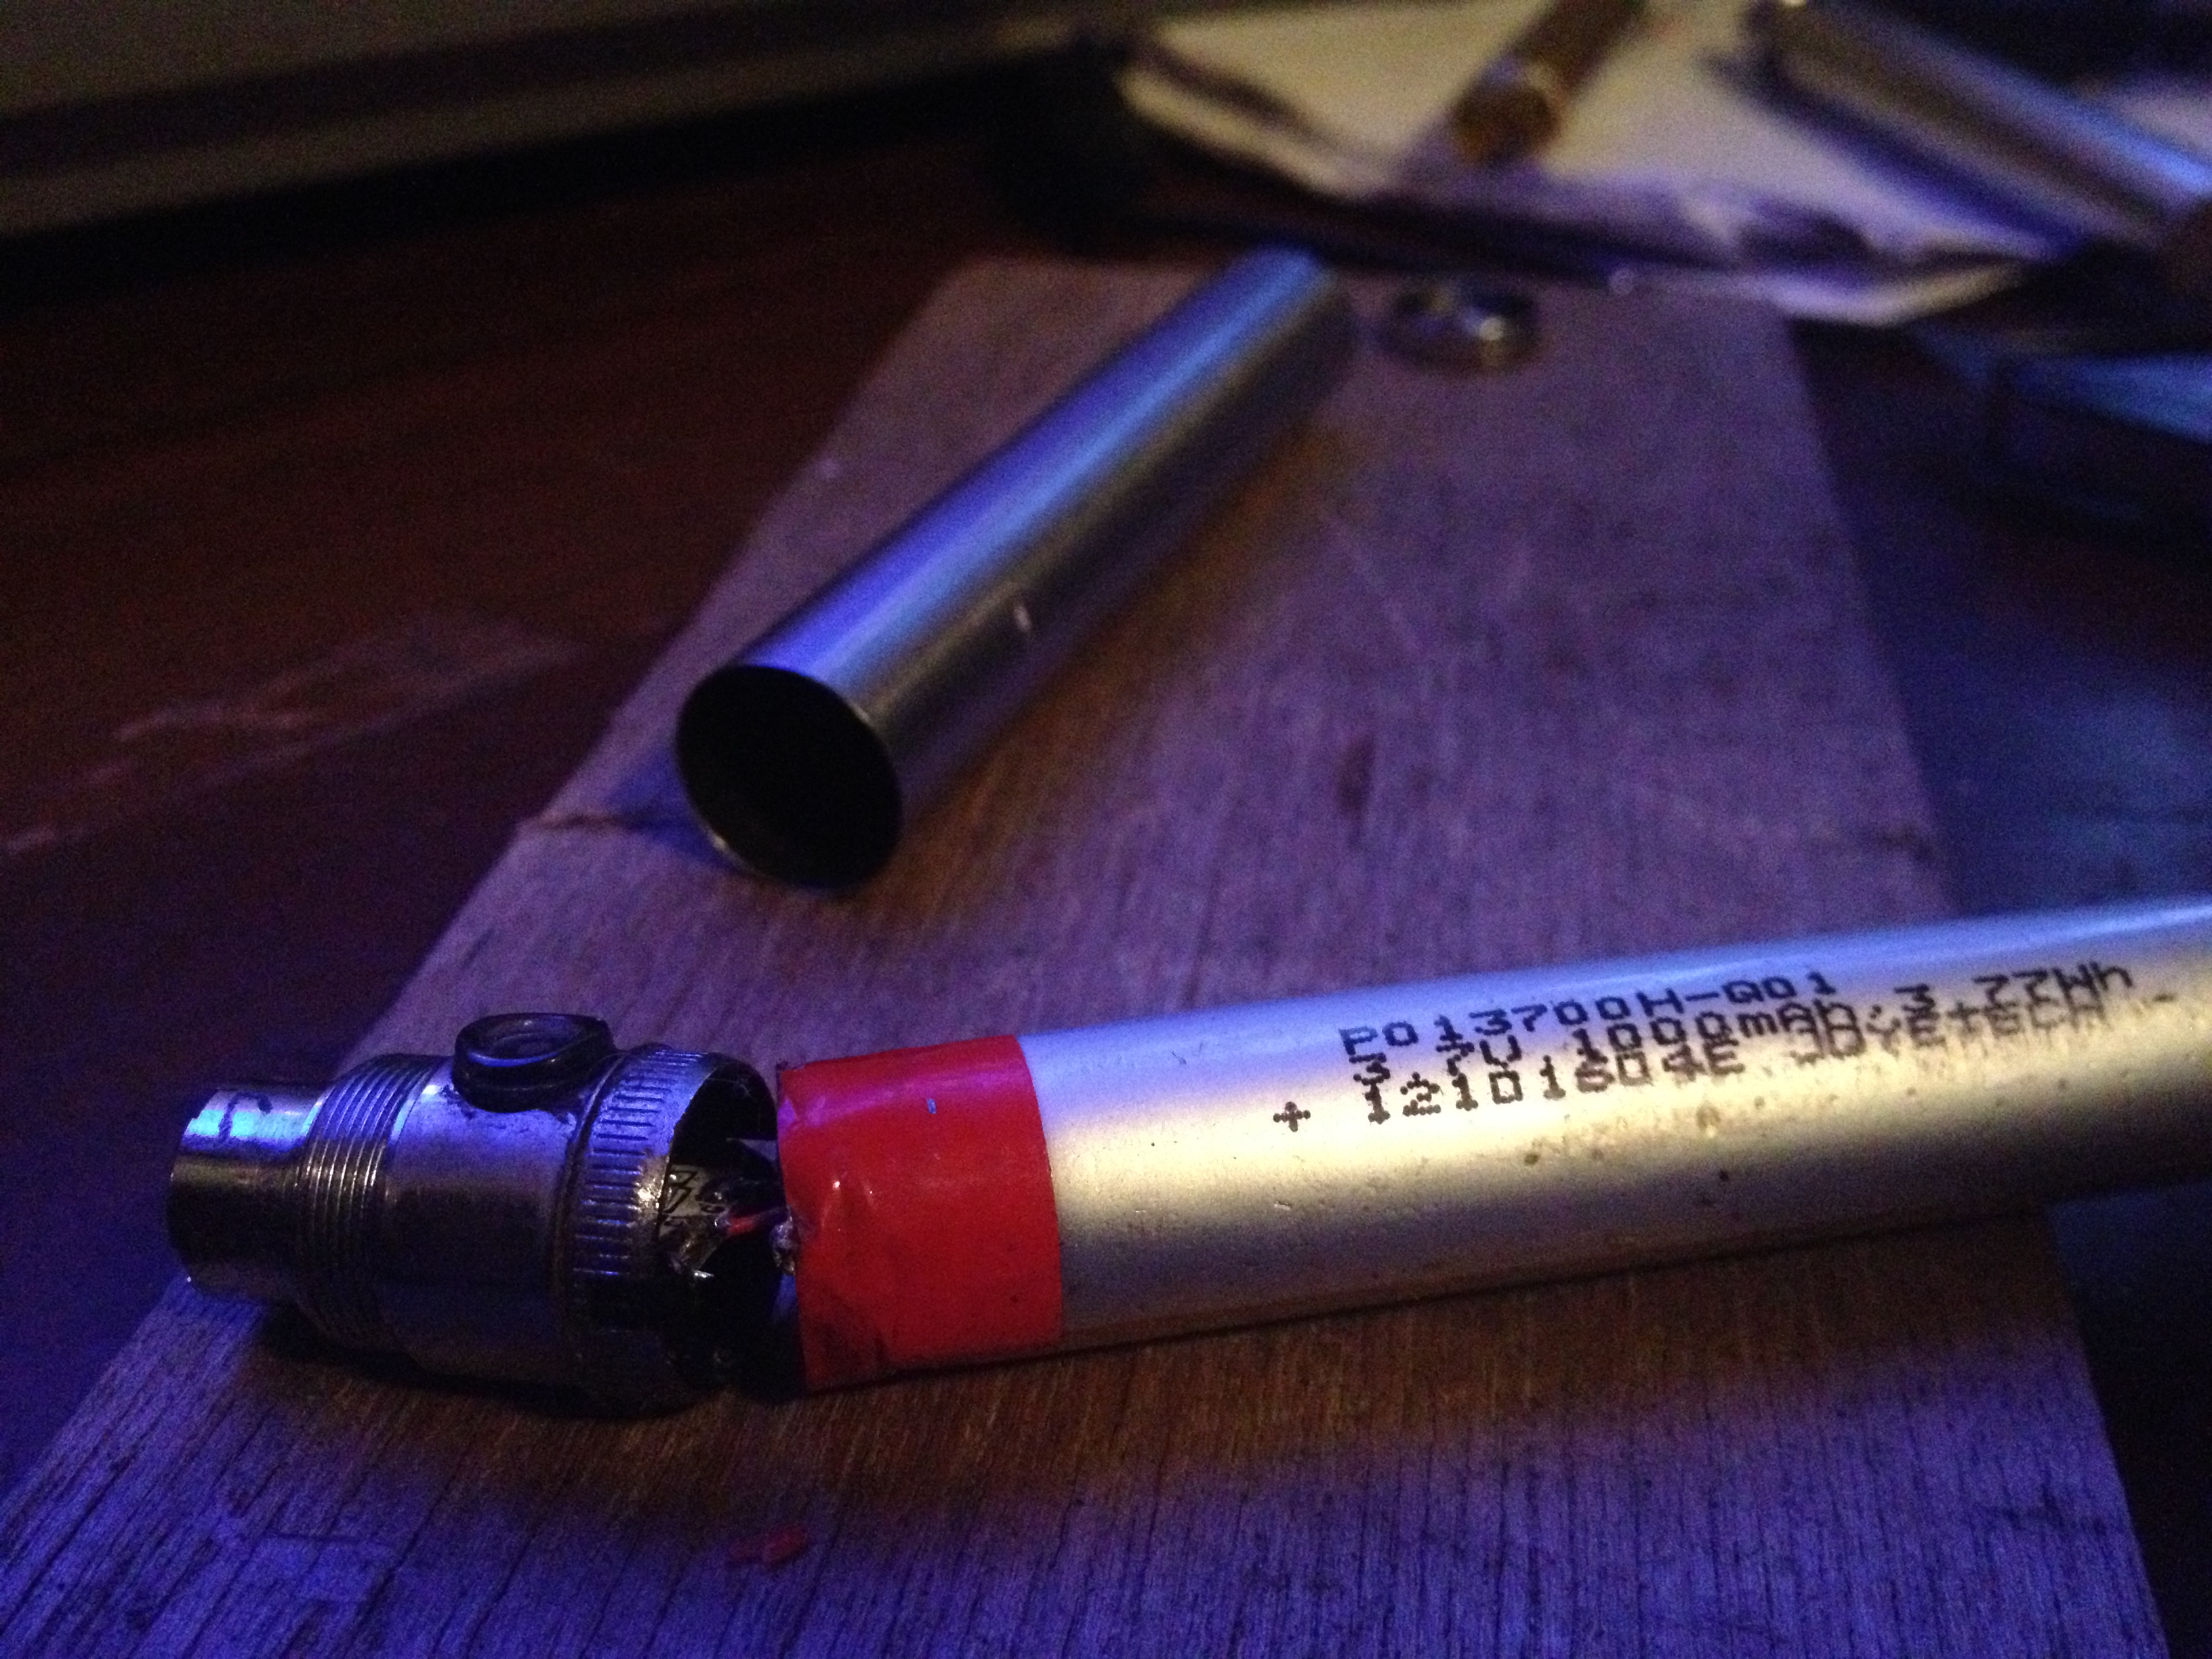
To complete the circuit, I soldered a short lead to the negative battery end for a connection to the end cap. Next I slid the metal housing over the battery and pressed the button assembly into it.
Finally I soldered the negative lead to the end cap, pushed in a foam disc spacer, and pressed on the end cap. Voila!
For a video on how to solder the battery wires to the circuit board Click Here!
great sight. Where do I find the solder and the electrical wire (+) for my repairs? Any suggestion as to brands? Stores?
Usually there is enough wire and solder to tack the wire back on. Otherwise, search on google.
Can you fix a smok m80 xplus charging port
It’s possible, but for liability reasons I cannot. Maybe ask someone at your local maker-space.
Would love to forever get updated outstanding web blog!